

Before I joined Dandy, for almost two years, I ran a data center for a production-grade application from my basement. It wasn’t just for side projects, it was actually part of a company that I ran which serviced hundreds of users including users from Amazon, Facebook, Cisco, and Comcast. I hear what you’re saying, “Karim, you’re insane. You must be overengineering things just for fun.” Though you may be right about the first part, there was actually a valid reason for running things out of my own machines.
Our backend had two major moving parts: an API layer and a worker layer. The biggest part of the worker layer involved running loads of concurrent high CPU work. Though we were a small company, the amount of data we had to process was growing quickly. Even just to support our first customer, we had to scrape tens of thousands of profiles.
When we pivoted to operating as a SaaS company (started as consultancy charging larger fees to a few clients), our economics very quickly went sideways. Very quickly, the requirements grew to scraping hundreds of thousands of profiles, and each user only paid $50 per month. Worse yet, since we were starting out, we had few paying customers. We began hemorrhaging cash. When we started onboarding users from Amazon, Facebook, and other big companies, we were doing so much scraping that we’d end up paying between $1200–1500 per month. It just didn’t make any sense.
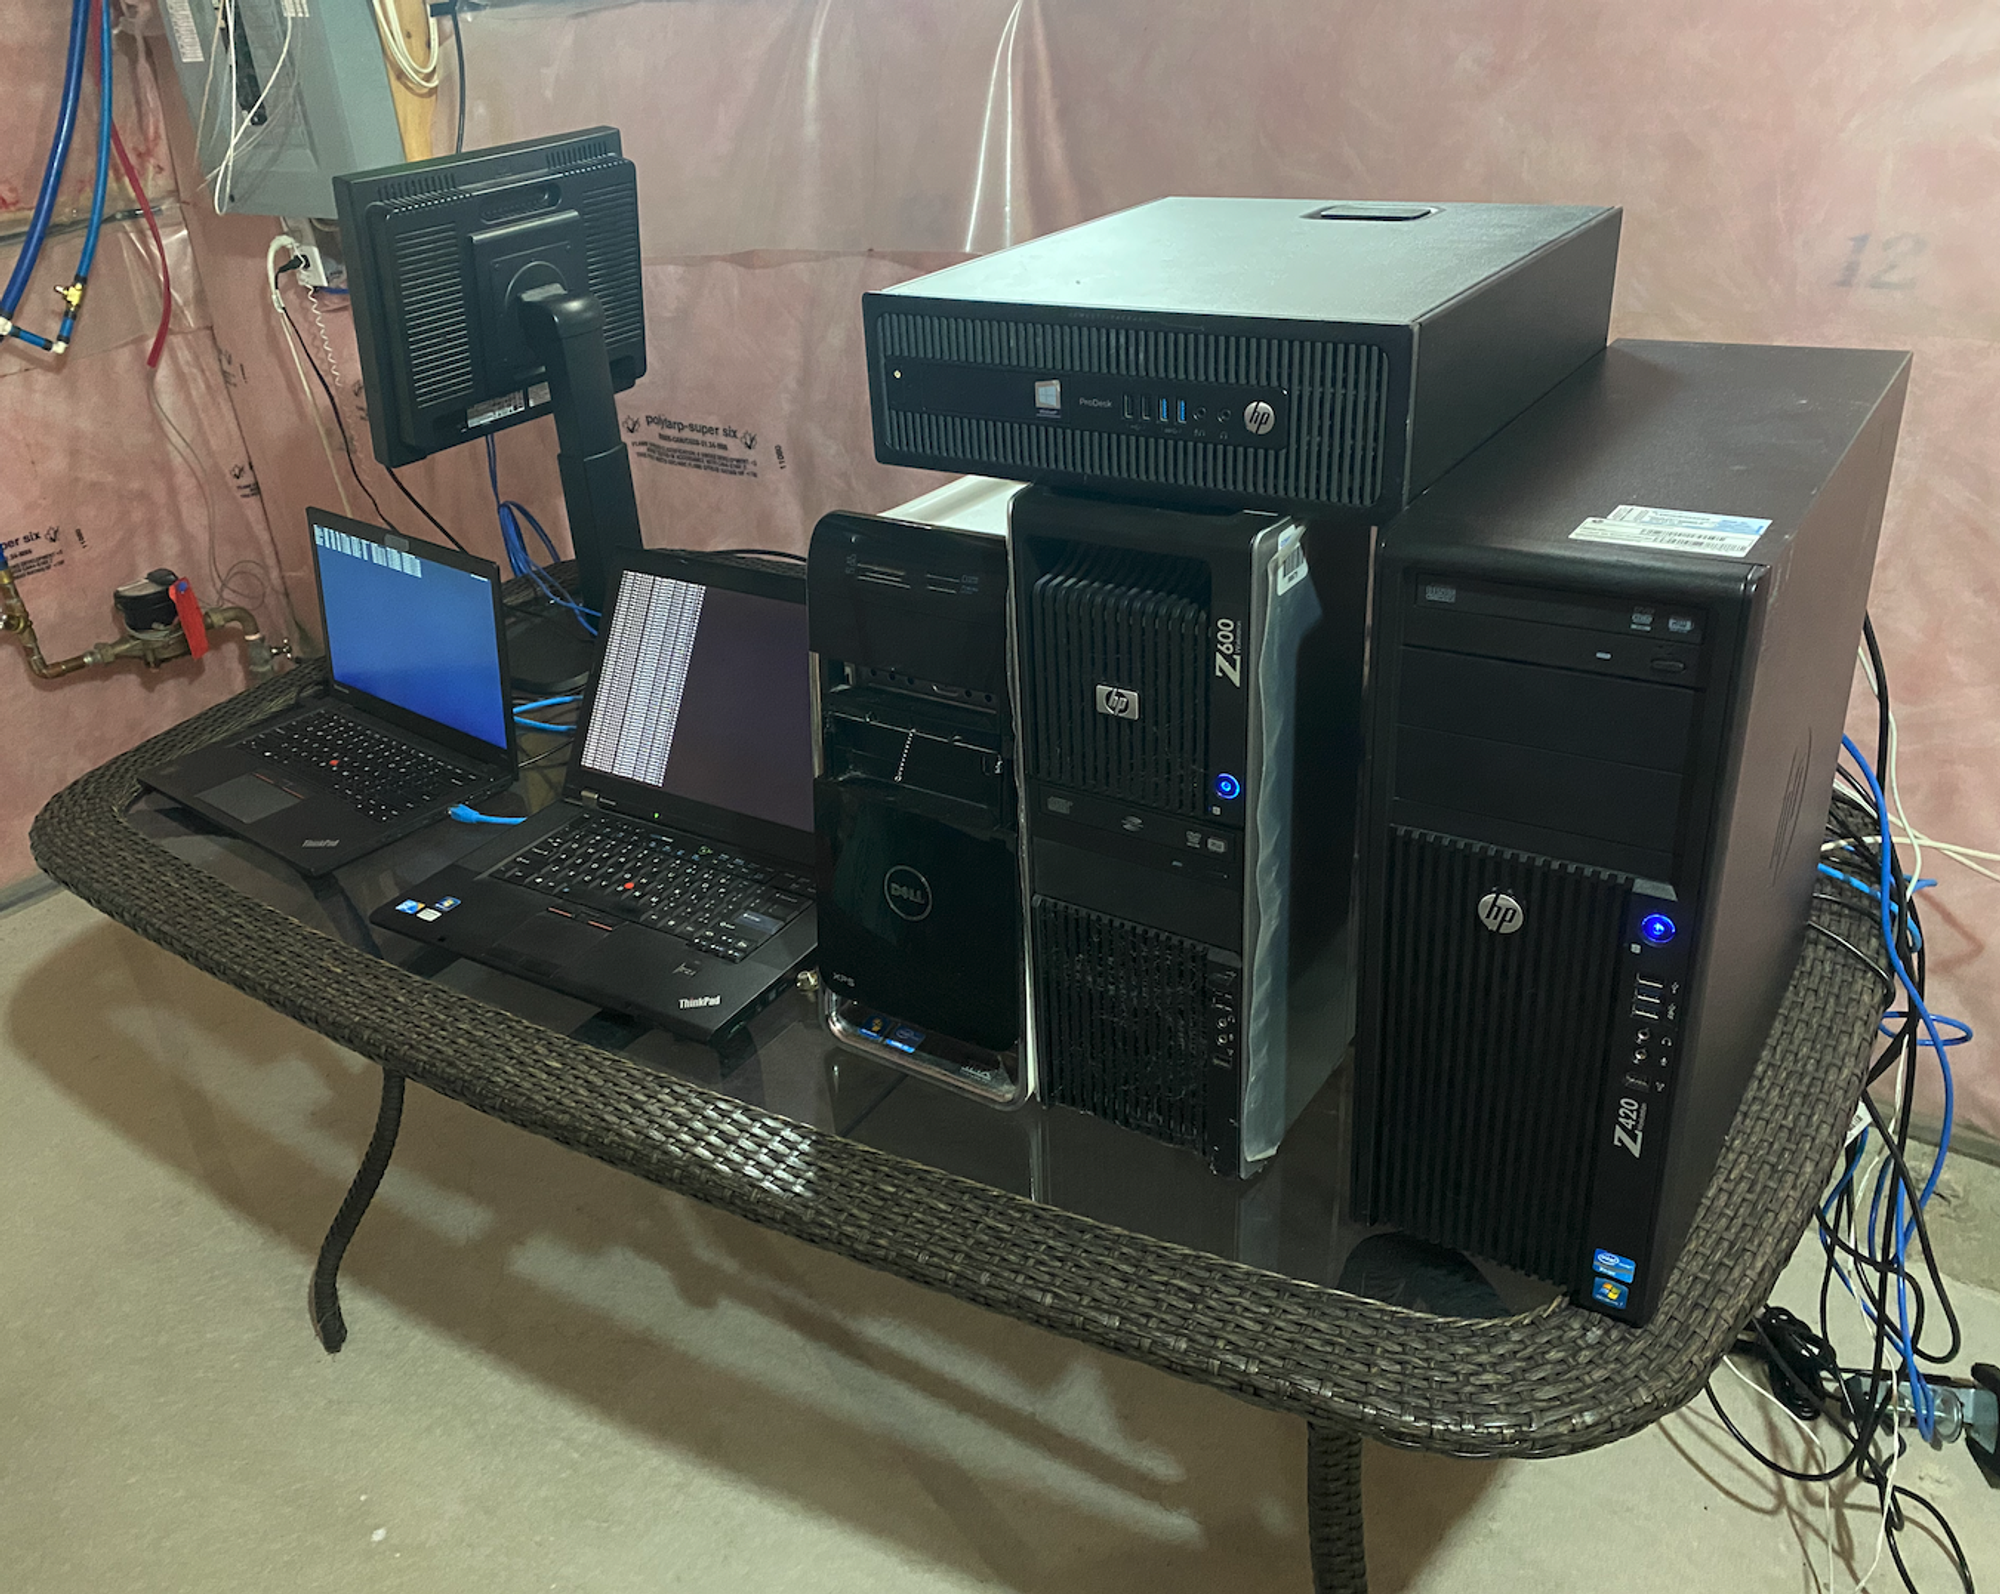
That’s when I had a crazy idea: what if I run the most expensive part of the workload on my own infrastructure. I grabbed every unused desktop computer we had in the house, a couple of switches, and even some low powered laptops. There were a few key things that made all this possible.
🏴☠️ Overcoming vendor lock-in (use containers!)


The first hurdle to cross was being able to move the application between the existing Heroku deployment and the new on-premise deployment. One of the biggest downsides to PaaS solutions is that they usually have so many proprietary features that you end up with vendor lock-in very quickly. For example on Heroku, most applications are deployed using “Heroku buildpacks” which are Heroku’s virtual application environments.
I’m probably the 1000th person to try to sell you on containers: but seriously, containers. Containers are awesome. Jump on that ship if you haven’t yet. For the most part, I had already begun to swap out the use of buildpacks with containers. Once all the services were containerized, it was a piece of metaphorical cake to move between different hosting providers and then finally into my basement 🍰. However, I had to deploy some auxiliary services to get the same or a similar feature set to what I depended on from Heroku and to overcome issues from running on my own hardware.
🎼 Orchestration (or why you need K8
One of the key parts of being able to run production-grade applications was having an efficient orchestration strategy. On the cloud, your resources are really elastic and you can throw money at problems to make them go away. When running on my own consumer hardware, if there was a serious issue, I would at the very least have to run down to my local BestBuy, get a new machine, get everything installed and then finally get over my resource usage issue. Big jump from having a “scale up” button.
What made my life much easier was an open source project called K3S. K3S is a lightweight kubernetes implementation, meaning that it gives you most of the features of kubernetes but is actually much better suited for beginners or people running things on their own hardware. Luckily, I was actually in both of their target audience groups.
Another project that made my life easier was “k3sup” (pronounced ketchup 🍅). I could actually completely replace my entire K3S cluster with a brand new cluster of machines in a few mins because of k3sup. You can create a new cluster with k3sup by giving it SSH access to a machine, and k3sup will setup that machine as a K3S master node. Adding additional nodes to that cluster is then as simple as telling k3sup where to find the master and where to find the new node. Once a new node is added to the cluster, kubernetes automatically moves services onto the new machine 🪄.
I highly recommend checking out both K3S and k3sup on Github:


For the most part, the default scheduling that came with K3S worked fine. However, I had to make a few adjustments. The first was to isolate my high CPU tasks to schedule on dedicated machines. This made it possible to maintain availability for most of my cluster, even if my high CPU tasks decided to hog the entire machine’s resources.
Another important investment was to buy the “Kuber” app from the app store. Kuber gives you an app that is very similar to K8S’ own dashboard, but on your phone and iPad (or an M1 mac), so you can stress about your cluster’s health on the go. Kuber gives you visibility into K8S’ magical scheduling algorithms. When a service starts failing, I can check which physical machine is being used to run that service. With Kuber, it was really easy for me to identify if a particular machine was unhealthy and needed a restart, or which high-level services were failing. Kuber actually also gives you access to real-time logs so you can identify why things are failing, which also smoothens the transition away from a PaaS like Heroku.


🌐 Networking
By far, the trickiest part was networking. The K3S networking defaults are fine, but there were a number of issues that only showed up after moving to an on-premise solution. The first few test runs of my high CPU scraper went terribly — at some point towards the start of the scrapping, something broke and every single job failed with networking errors.
For the most part, the database drivers for Node.js do not properly maintain context when throwing errors. As a result, all I was getting in my logs + bug tracker was high-level timeout messages. It was not clear what timed out and where in the stack. Unfortunately, I didn’t have any enterprise networking equipment (next time, I would definitely buy a Ubiquiti Security Gateway), so deep diving into network-level issues was tough. After some poking around, I found a wonderful project called PiHole.
PiHole is an extensible DNS forwarder designed to use DNS to block ads on your network. However, you can actually disable the adblocking features and use it as a DNS forwarder with monitoring information. This is just one piece of the puzzle, but still a useful tool to have in your belt. And best of all: it comes in a container 🎉.
Deploying PiHole to K3S was a challenge. K8S configuration for services requires you to specify IP addresses for your DNS rather than hostnames, so it is tough to deploy a DNS server/forwarder within the cluster and point other services in the same cluster to it. The workaround I ended up using was assigning the scheduling of the
pihole service to run on a specific machine, setting its externalIP to the machine’s IP, and then using that IP as the DNS in my other services. Once this was setup, I was able to get all the data on what queries were being made by my application, how frequently, and to which hostnames.

Turns out, Node.js does not have any DNS caching. Which means that on every database reconnect, the DNS is hit again. In my application, worker restarts were pretty common and don’t harm the actually scraping process (which is relatively atomic and persists state). But the restart did mean that database reconnects would happen. The issue was when a large number of workers pods restarted together, it resulted in a very large number of DNS queries, some of which timed out, causing more restarts. The retry storm of DNS queries caused the network to momentarily go down in my entire house.
🚙 Hybrid deployments
One thing that is inevitable about running applications from your house is that it is impossible to reach the same level of availability that you get from the cloud. To combat this, you can use a hybrid cloud and on-premise deployment to ensure that certain services can remain available at all times.
One of the really nice things about K8S is that your entire architecture can be declaratively specified as a bunch of configuration files. This made is super easy to have a hybrid deployment strategy. All services are defined without hard dependencies on the cloud or on-premise cluster. Deciding whether to deploy a particular service onto the high availability or low availability cluster is as simple as giving
kubectl a different hostname + access token to deploy against. When setting up the architecture for the first few weeks, I would move around services very frequently as requirements changed.🔒 Security
Briefly, I ran externally available (and unsecured) services out of my home data center. I can hear you laughing already. If you’re going to run externally available services, please secure them! I figured that we’re relatively small and nobody should be trying to attack us. 🤷♂️
Someone managed to find my data center using my DNS hosting service, found a vulnerability through an insecure redis instance, and planted a bitcoin miner onto my machine (and was clever enough to name it after a kernal process). It took about a week before I actually found the virus and removed it. Needless to say, after this, I audited my deployments and secured access wherever I saw necessary.
I would recommend securing application access where possible, such as using a hardware firewall or only allowing access to certain ports from specific source IPs.
🦺 Visibility
The requirement for visibility isn’t unique to on-premise deployments, but cloud deployments still have a lot of safety nets that allow you to soften this requirement. But since recovering from failure takes much longer with on-premise, it’s important to figure out not only when things are breaking, but what is breaking.
Part of this equation was solved by Kuber, which I discussed earlier. This gave you the service-level and cluster-level metrics needed to debug failures. But what was far more helpful for me, was running a statuspage that continuously tested the health of individual application components.
There’s a few different ways to deploy something like this, one of the popular ones being Uptime Robot. If you’re cheap like me and want to self-host the statuspage, you can checkout patrol, an open source project by yours truly.

This was by far the most useful service in my cluster. I not only got alerts from patrol when something was down, but I could actually guess what my next steps should be based on which checks were failing. It was key to test more than just the surface level “CPU usage” and “memory usage” metrics. I was tracking whether users could login successfully, how many search results were being returned by our search, how many clients were connected to redis, and lots of other very specific details. When the data gets noisy, you can simply select a specific service to focus your view or choose to only view failing checks.
Conclusion
Overall, I would say that running an application out of my basement was actually a pretty successful endeavour. We saved a bunch of cash and managed to hit some nice milestones with our company. However, that’s not to say that I recommend on-premise over cloud. The choice of target environment should be based on your application and business requirements. And if you do choose on-premise, be prepared for the extra devops costs and nuances in successful execution of an on-premise strategy.